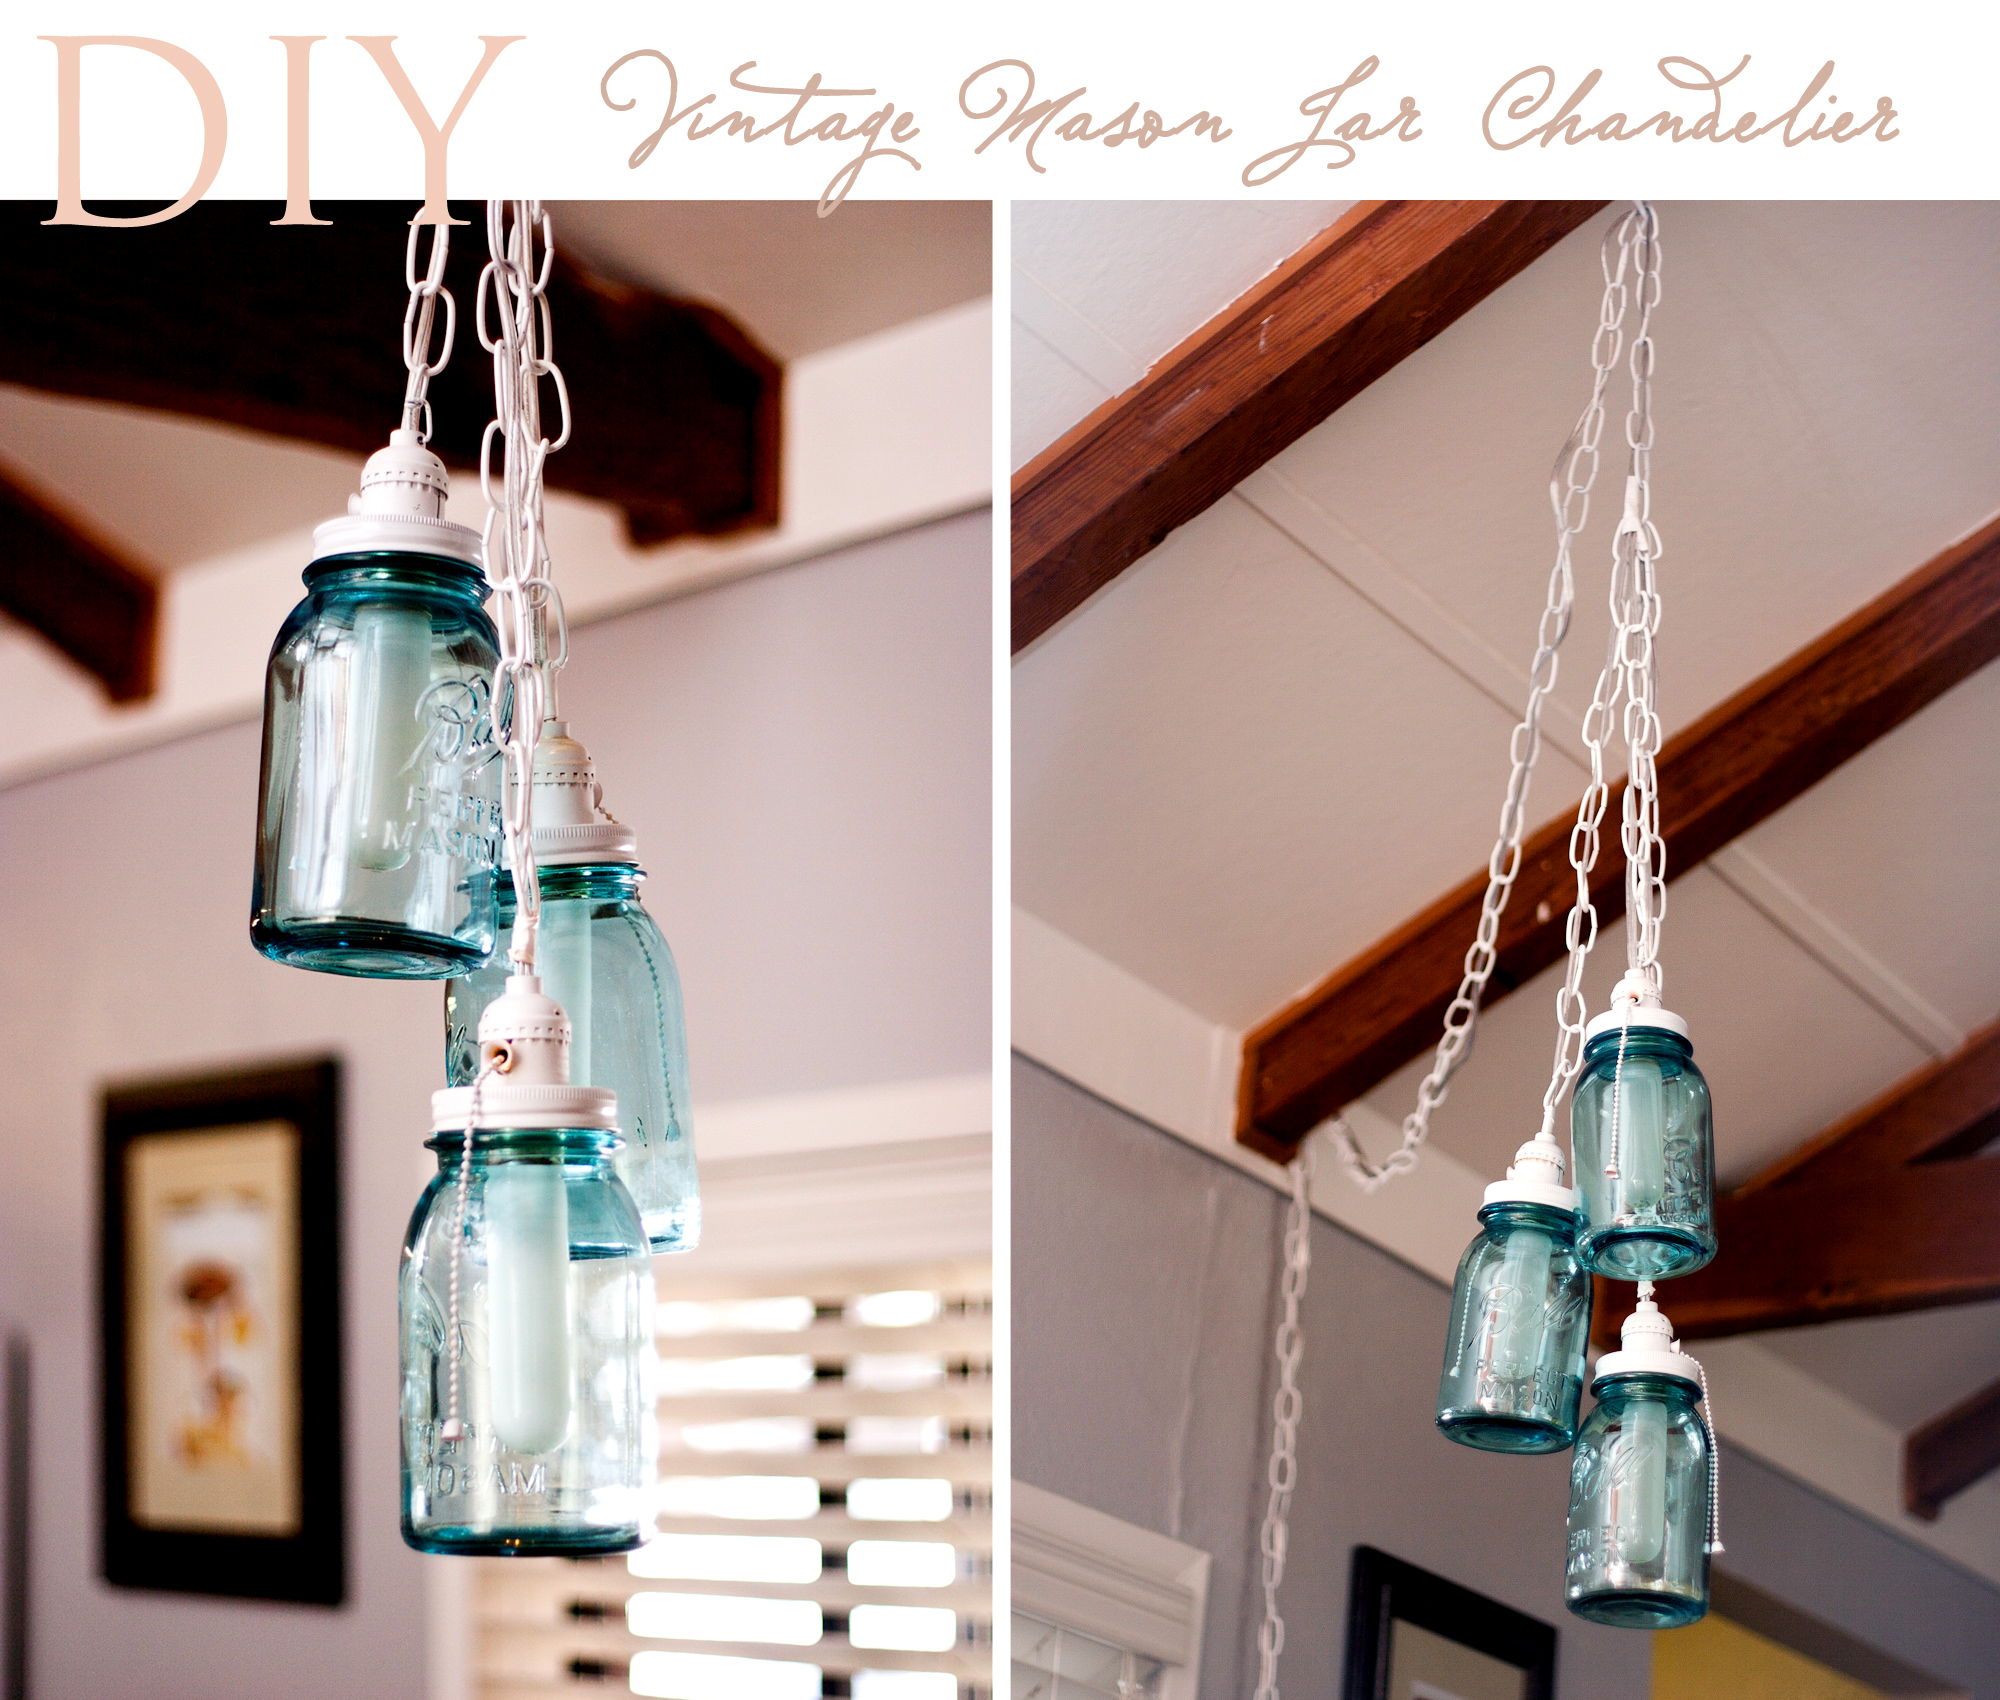
My First Do-it-Yourself!
 My heart jumps any time I see the letters DIY. Being a “do it yourself: enthusiast, I am constantly trying to find things I can make at home with unique and vintage materials. I was at the home of a friend and fellow artist, Michal Strawbridge, and I saw a chandelier she had created using mason jars. Inspired, I took the idea and made it my own. I have never written a DIY before unless you count knitting patterns. I thought I take a stab at it and would share the process so someone else could do it themselves!

1. Swag Chain Lamp Kit 2. Brass Colored Push Through Socket 3. Vintage Mason Jar 4. Tube Bulb (sorry the link is for a lot more bulbs than you will need but you can get a closer look at least) 5. White Spray Paint 6. Regular Canning Jar Lids 7. White Electrical Tape
You will need a drill to cut holes in the lids and metal snips. You will also need splicers for the wiring part of the process.
Directions:
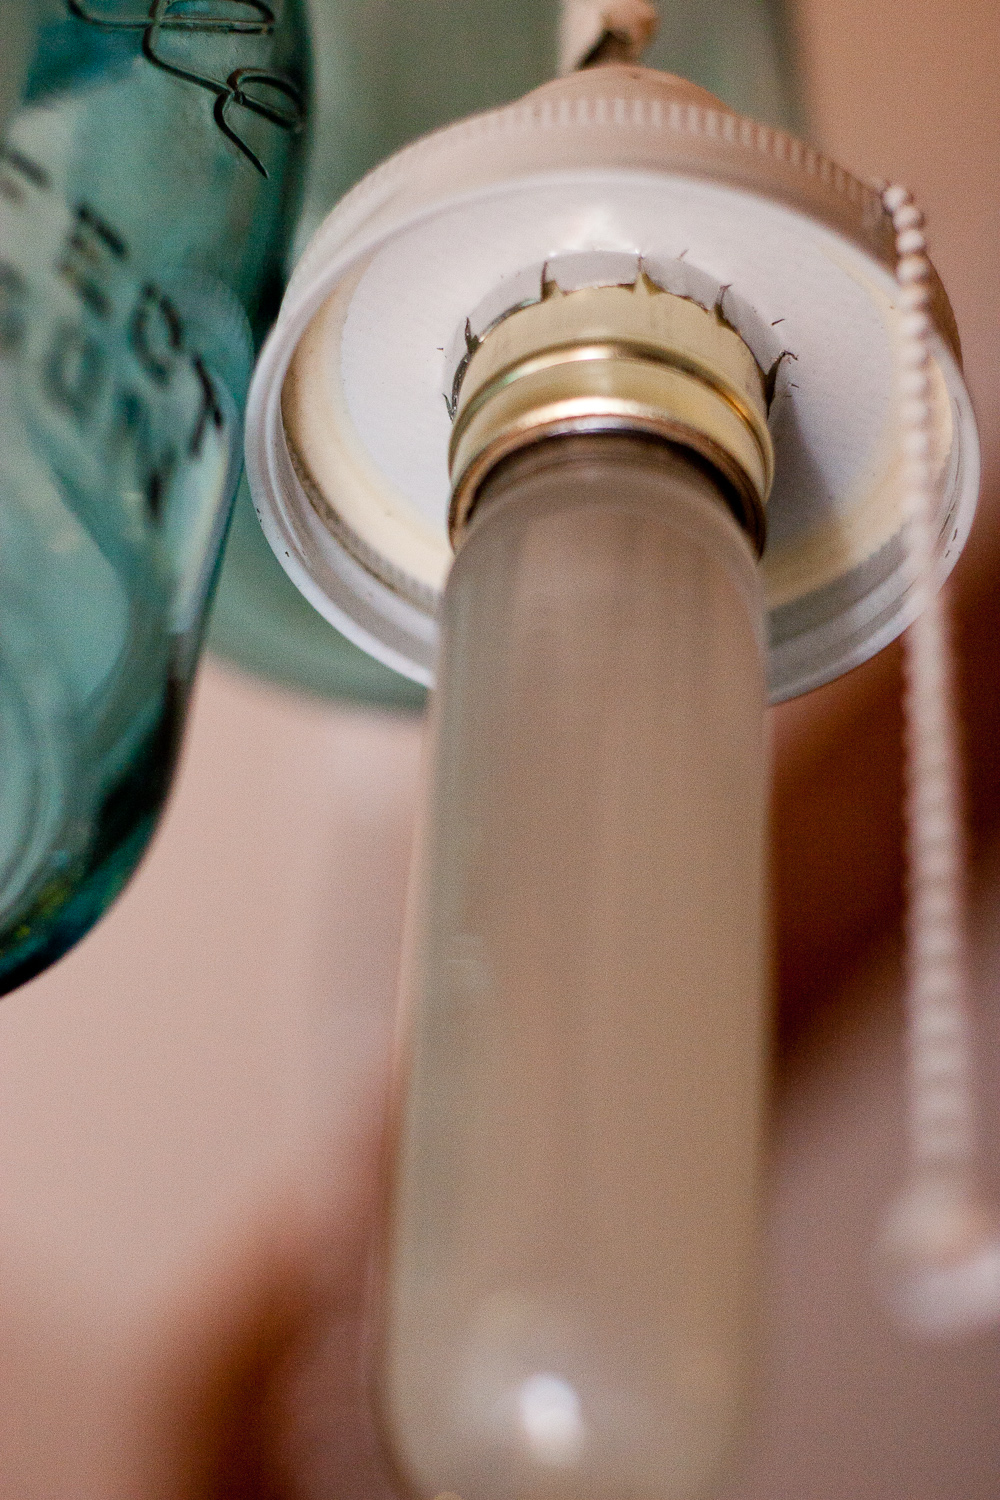
1. Take three push through sockets and tape around the part that is directly next to the bulb. I taped about an inch from the edge and covered the socket. Spray paint the rest of the push through socket. (I found mine at Home Depot but I couldn’t find the exact model on the site.)
2. Drill or cut holes in the canning jar lids. I cut holes that were a half an inch smaller in diameter and then using metal snips I made small cuts about a quarter of an inch in length all the way around the original cut. Then I pushed the flaps I had made down to allow the socket to push through and to hold the socket in place.

3. Spray paint the three lids. (I found white lids that fit my canning jars. The AMAZING thing about canning jars is they all use the same lids, new or old. However, if you cannot find white lids you can always just spray paint them.)
4. In the “Swag Chain Lamp Kit” you should get 18 feet of white chain and 18 feet of silver wire. Cut the wire lengths for the main length and three smaller lengths for the hanging jars. Thread the wire through the chain and cut the chain to equal lengths. I tiered the lengths that the jars hang from, but you could make them all the same length as well.
5. Wire in the sockets. You may need to get some help with this part if you don’t know what you are doing. Find someone knowledgeable so you aren’t stuck splicing and re-splicing your wires.
6. Attach the chain to the where the wire enters the socket with white electrical tape.
7. Attach all your wires (seriously have someone help you with this it will make it so much faster and less frustrating!) making sure that your chain hangs evenly from each strand and on the main wire. I used the white electrical tape to hide the wiring instead of the plastic caps. It just looked better and lets face it…sometimes looks are IMPORTANT!
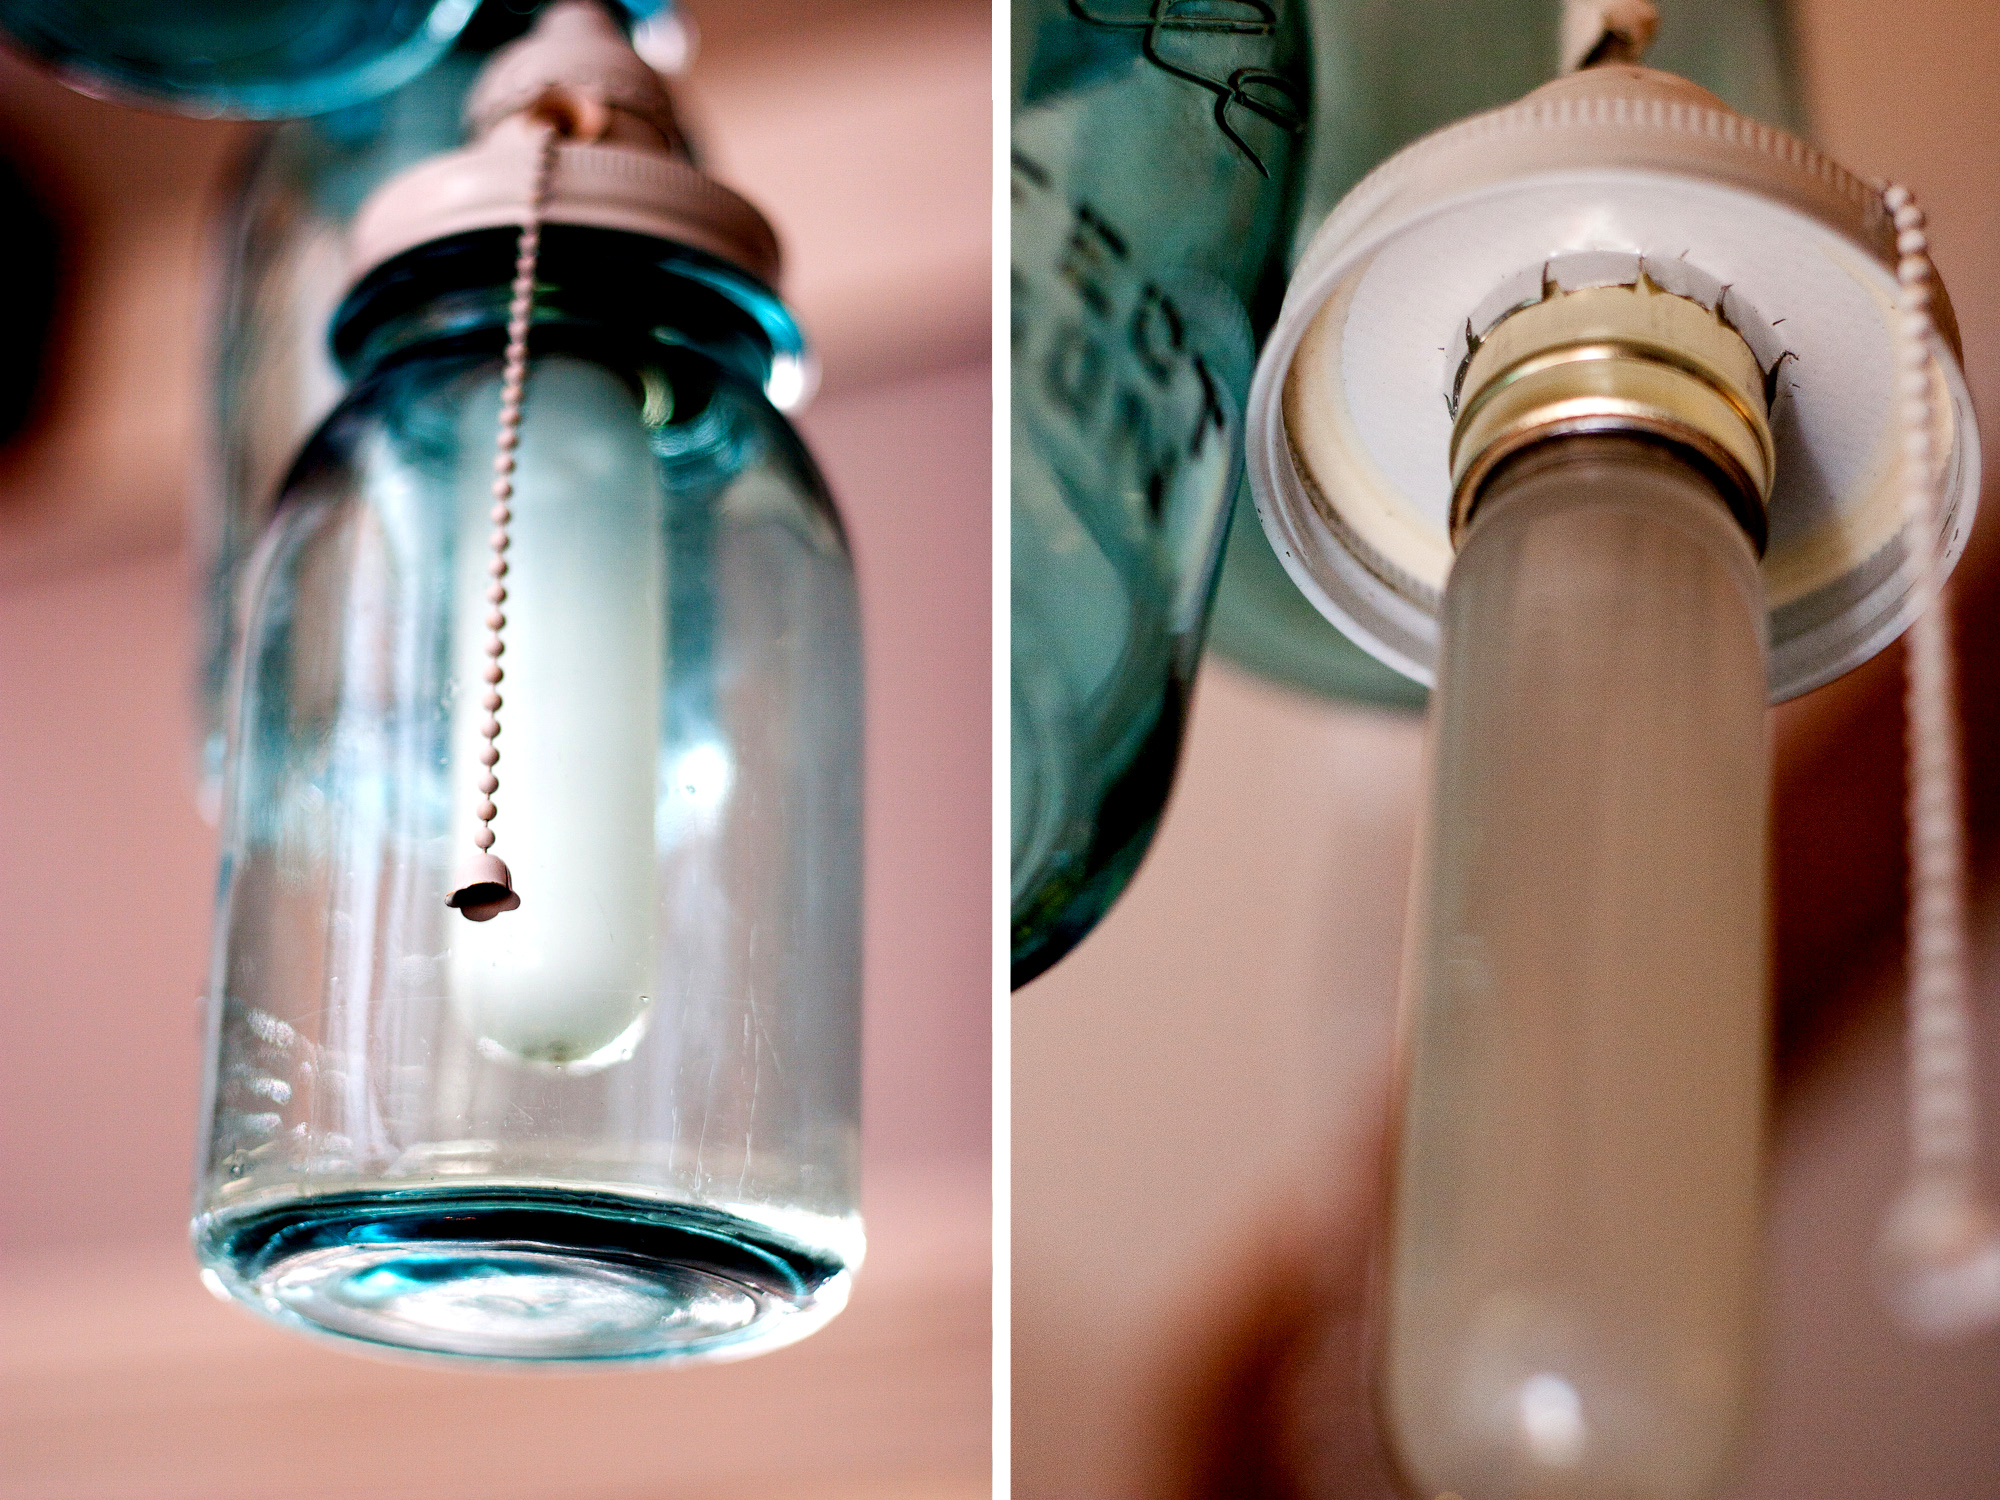
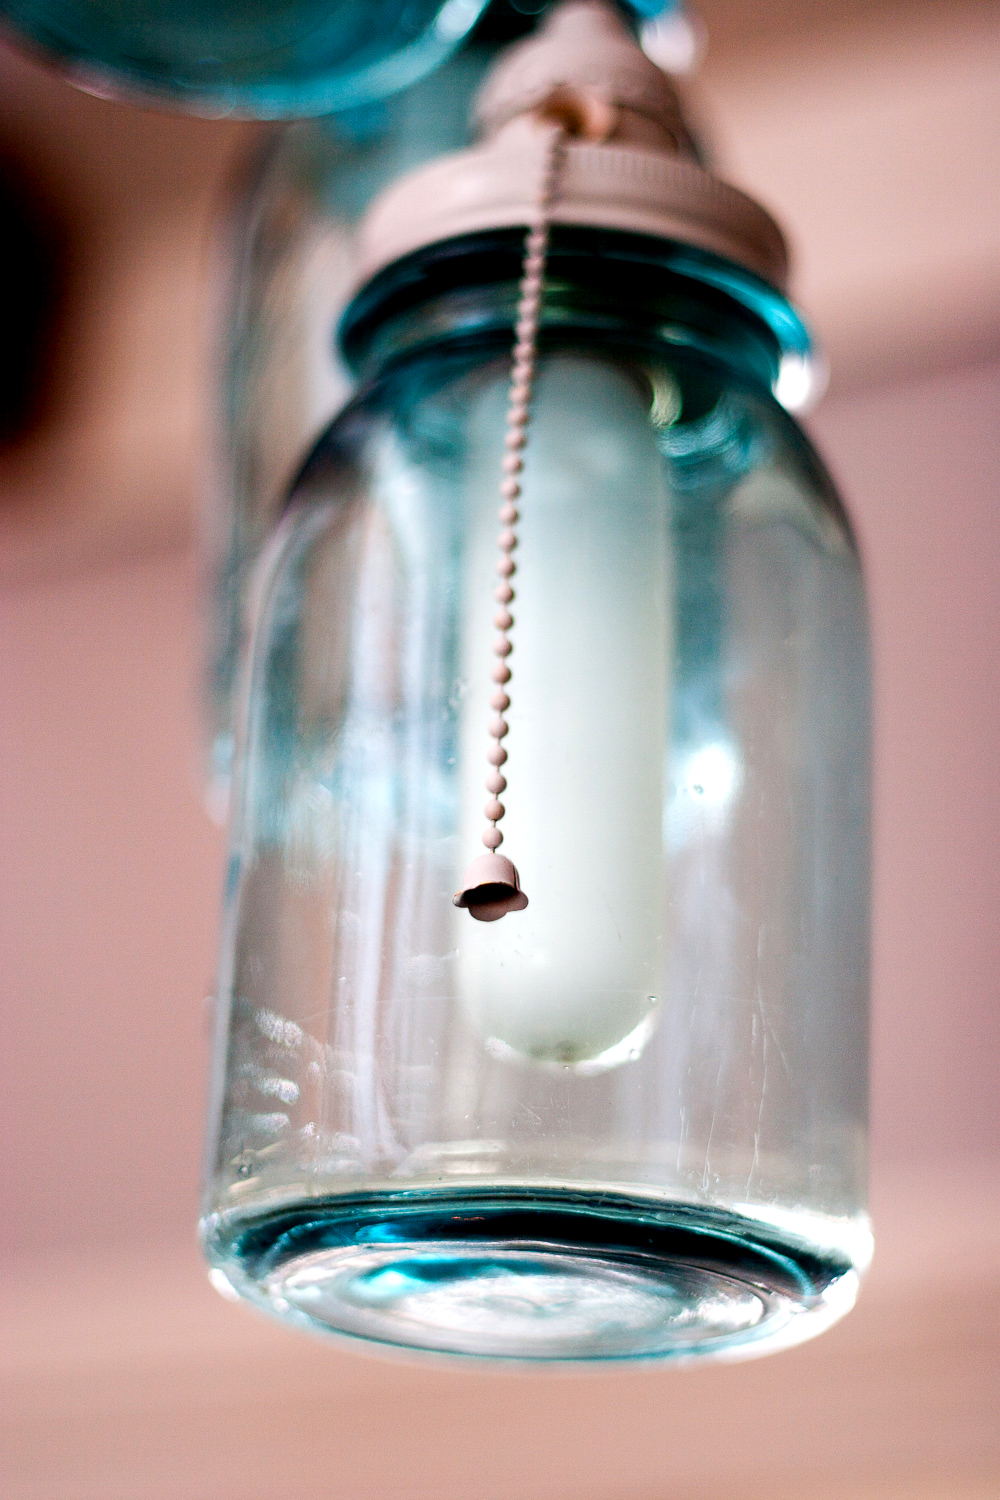
8. Insert bulbs and attach canning jars.

9. Plug in your chandelier and see how it looks.
If you don’t like the look of the blue colored jars (or want a bit of variation) you can use any other canning jar that takes the regular lid.
I hope at least one person is able to re-create this project and make it their own. I had so much fun creating my chandelier and I LOVE the end result. It was so liberating to realize how easy it is! ENJOY!


11 Comments
Jen Green
That’s so neat! What a great idea. It looks really funky, and so simple. Thank you so much for sharing the idea, and the how to!
elisa
Thanks Jen! I am glad you like it and find it useful 🙂
Pingback:
Sarah
It’s soo cool! I love it!
Mary Ann Amore
this is so awesome, <3 it!!
Regina
Lindo, lindo, lindo!!! Parabéns
Beijos no coração
RE
Morgan
Love it!
This is what I plan to do when I own a house!!
Samantha
I used the hanging sockets from Ikea. They sell the ones you use to turn lampshades into hanging lamps. All you have to do is cut holes in the lid, then attach the socket, which just screws apart! Easy 🙂
Mary Catherine
Hi there!
I stumbled across your tutorial while googling diy mason jar chandelier and I am in love. I have been lusting after a mason jar chandelier for a while but haven’t had the money to buy one. All the tutorials proved either way too complicated or would leave my 3-light chandelier with 3 different plug-ins. I’m wondering about how yours is powered- ceiling fixture or wall socket? I’m really hoping wall socket but if that’s the case I missed the part where you explained how you connected it to the wall. Some illumination of the issue would be helpful (hehehe)
thanks!
elisa
I bought the kit where it plugs into the wall socket. Sorry it took me a bit to reply.
Pingback: