Supplies:
Glue Gun
8 inches of ribbon (more or less depending on the size of the bow)
2.5 inches of elastic
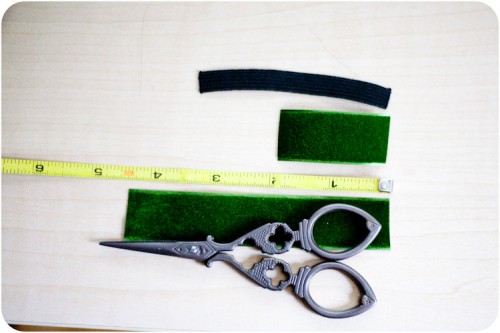
1. Cut ribbon into one four and a half inch length and one two inch length.
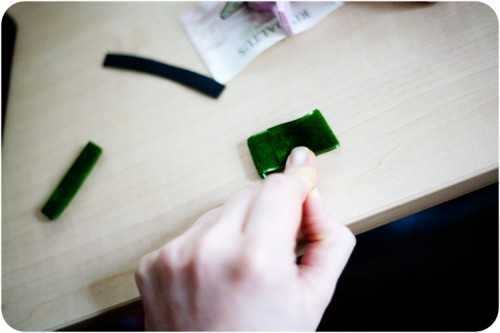
2. Fold the larger length of ribbon over like so. The narrower length can either be folded in half length wise or in thirds.
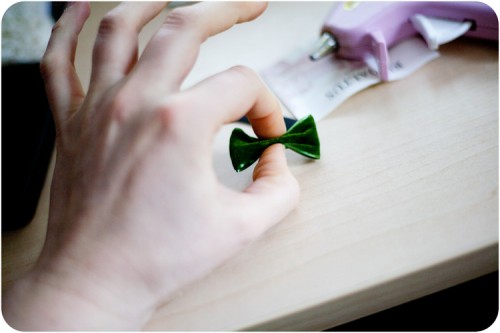
3. Flip the ribbon over so the folded over portion is in the back. Pinch it in the middle and hold it while you wrap the other piece of ribbon around the center.
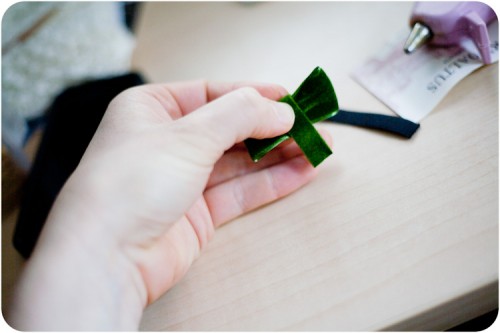
4. Once you have wrapped the second piece of ribbon around the center secure it in the back with a bead of hot glue.
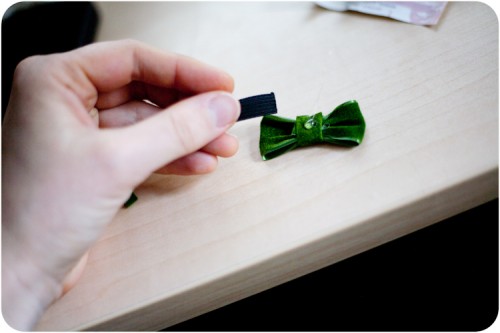
5. With another bead of glue attach the elastic loop it around and measure that it fits your finger and then attach the other side.
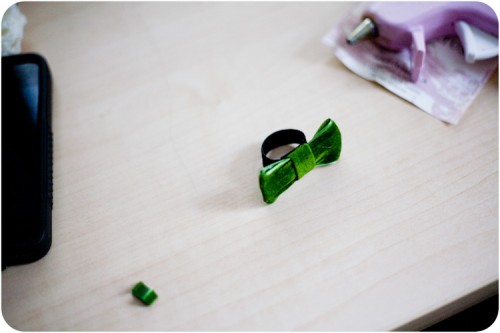
I used vintage velvet ribbon my grandmother gave me.
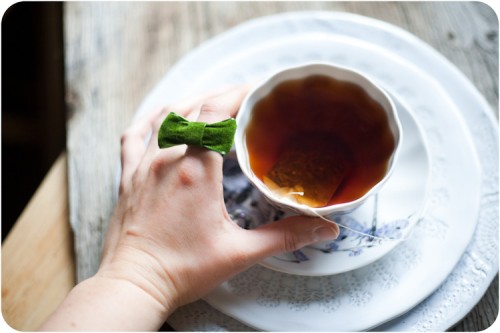
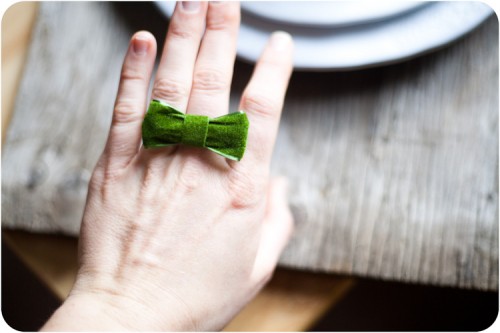
The tea cup that is pictured in this post is the dragonflies print from the Russian company Lomonosov. I purchased it HERE…I absolutely love it and the company was amazing to work with.
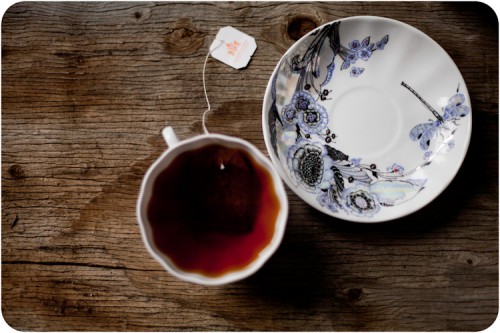
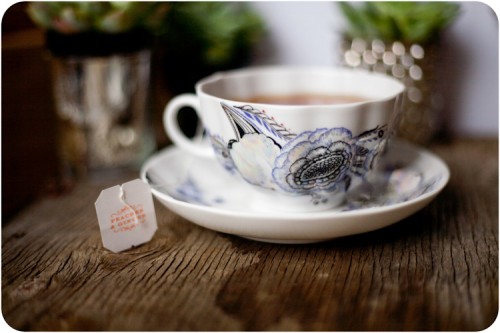
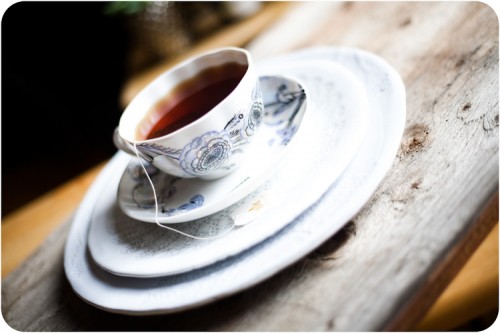
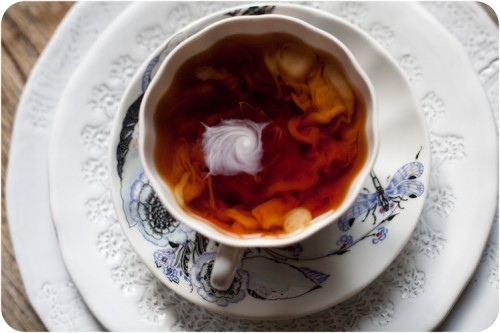 I think cream in tea is one of the more beautiful mundane things I experience during the day…I can imagine finding pictures in the depth and ripples.
BOW TIES ARE COOL! Need I say more?
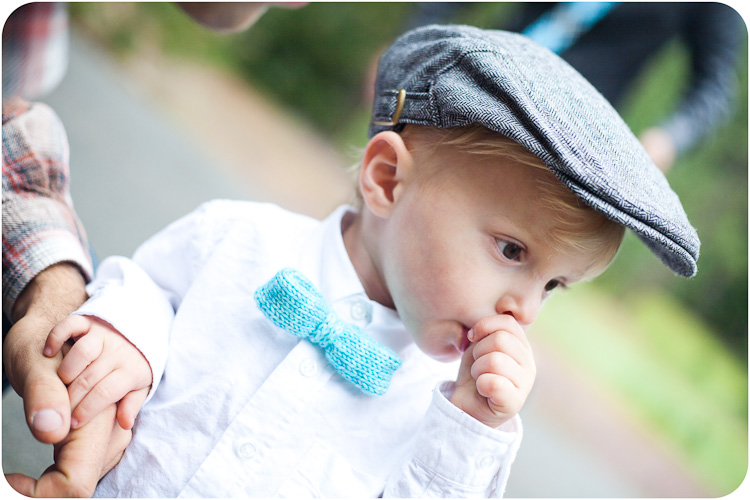
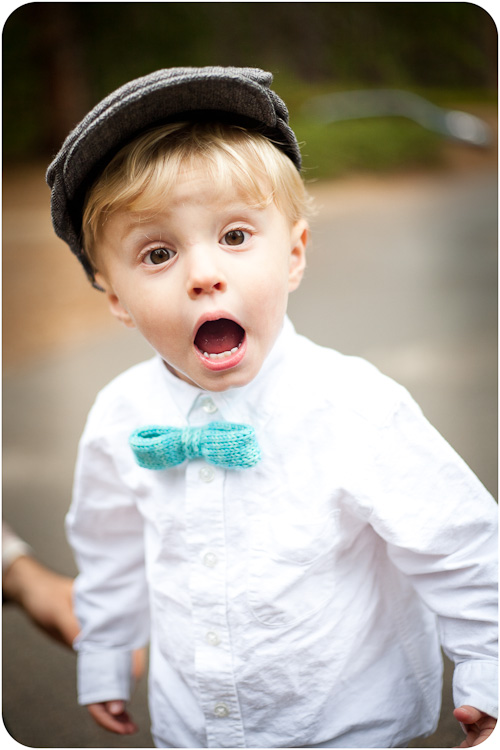 He is obviously thrilled to be dressed up.
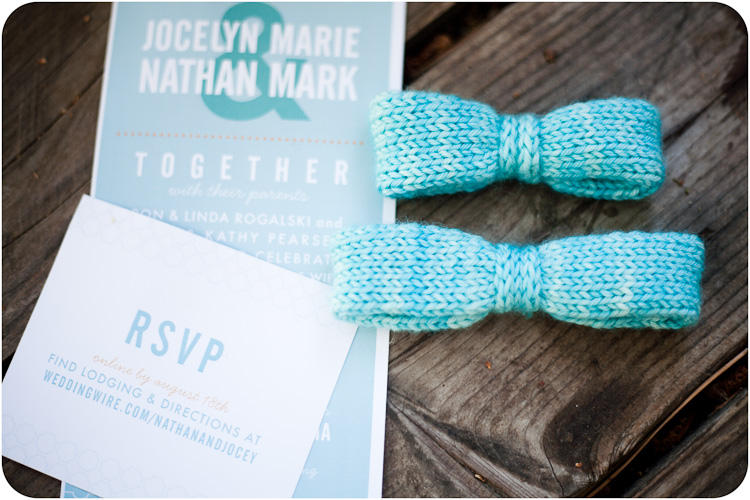 I matched the color-way (MadelineTosh DK Robin’s Egg) to the invites and the bridesmaid dresses. The smaller bow tie was for my 2 year old son, and the larger was for three and a half year old son.
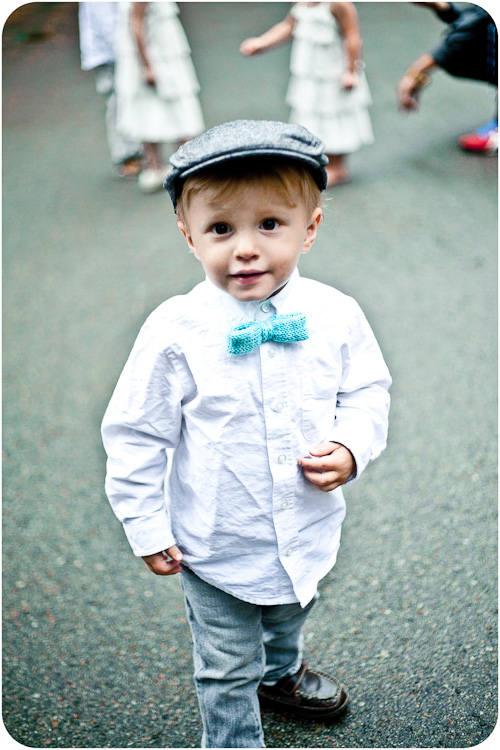
If you don’t know how to knit I am happy to knit custom bow ties for weddings. Just email me for pricing [email protected]
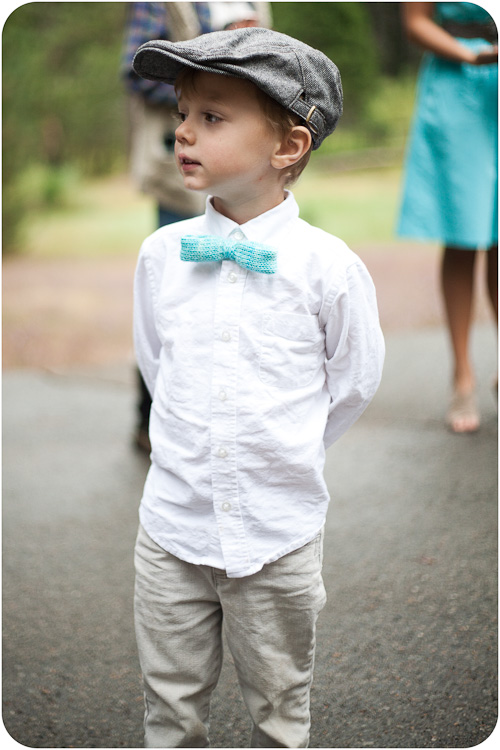
Holding daddy’s hand.
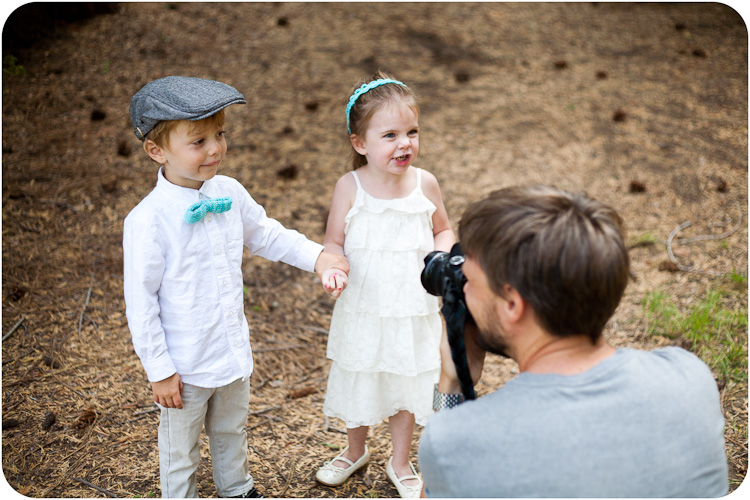
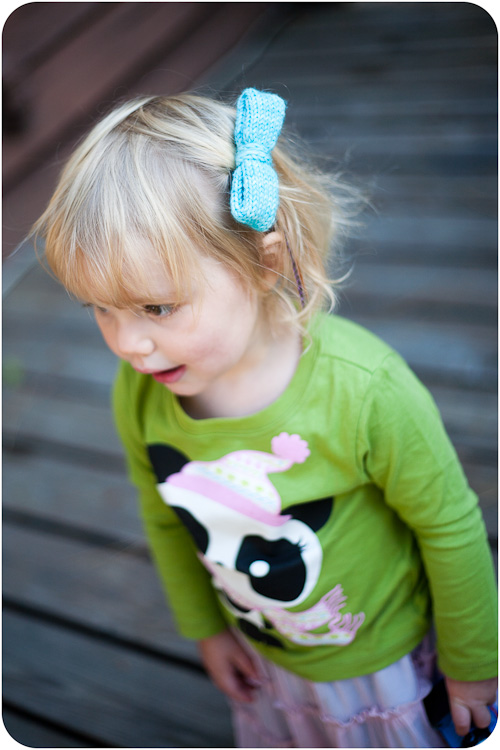
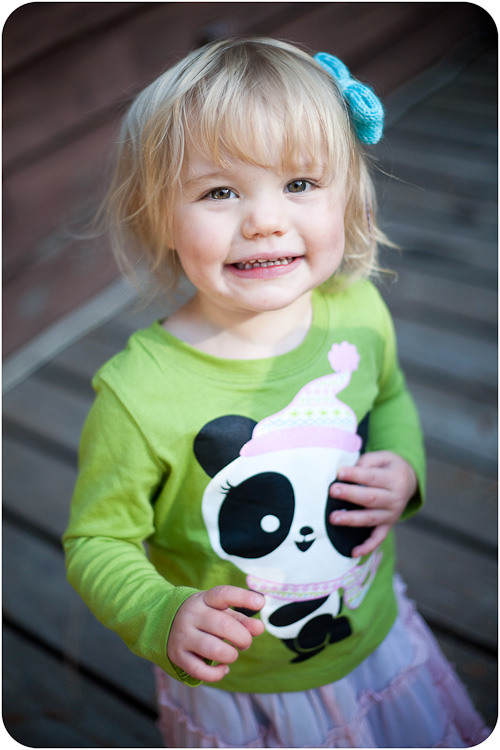
I also crocheted matching headbands for the two girls to go with the bow ties. I am anxiously awaiting photos from the wedding because all the kids were adorable. After the wedding, since I don’t think my boys will be wearing their bow ties very often, I switched things up and made them into bow clips for Fiona.
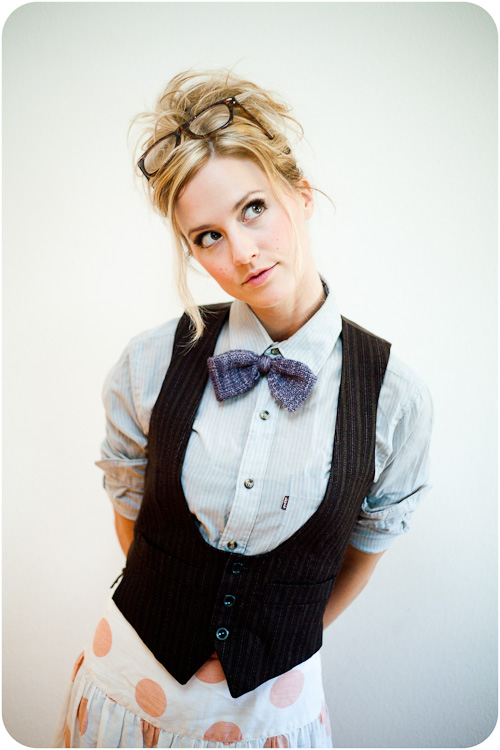
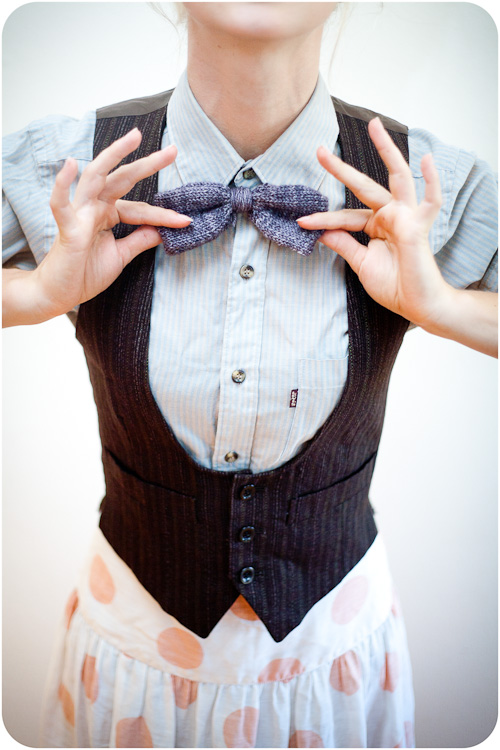
 I am also writing the pattern to include sock weight yarn with several different styles of bow tie. For adults as well as children. Here is an earlier style I knit up for my sister.
 Stay tuned for more…