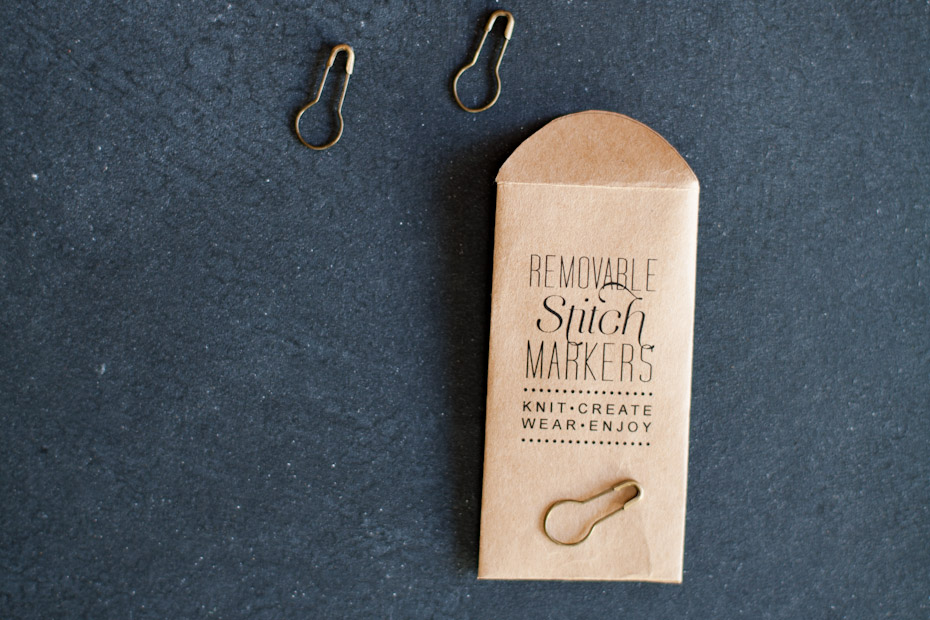
I have never been a big user of stitch markers, until recently when I have been working on larger projects that involve colorwork or more intricate stitch work. If I ever needed any I would simply make tiny yarn rings out of another color and use those. The difficulty with yarn stitch markers is they aren’t removable and they are easy to loose in your work. I often found myself knitting them in and having to cut them out and then make new ones. One day I used paperclips and they worked great! They were removable and served their purpose. I have stepped up the quality once again with these little safety pins I found on ebay. I bought 100 for $3 or so and they work great. I don’t know how large of needles they will work up to probably a US size 9 (5.5mm) maybe larger. Anyway I am giving them as gifts to a few knitter friends and I wanted to make some cute packaging for them.
I created a tiny envelope template and thought I would share it for free. You can fill this envelope with gold colored paperclips (very fancy), or you can purchase these safety pins online, or you can fill it with any other type of removable stitch marker you wish to fashion for your friends. It is a bit more time consuming than purchasing envelopes but they are really cute and tiny. You can refer back to my DIY: Brown Paper Label for the particulars of printing on paper from an old Trader Joe’s bag or any paper grocery bag. I used the same principle for this project. Click on the image below to download the envelope as a PDF.
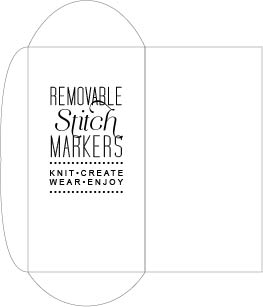
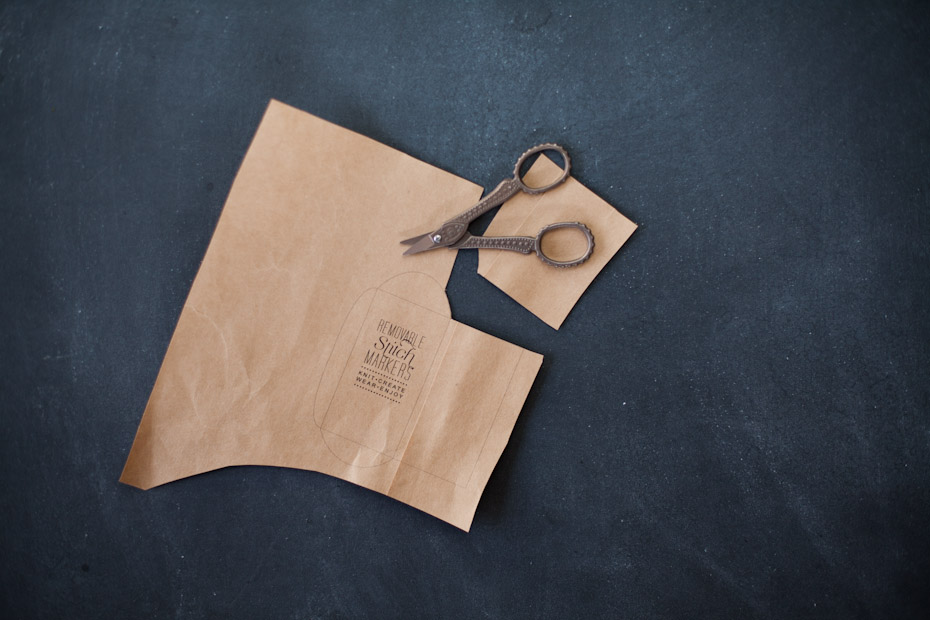
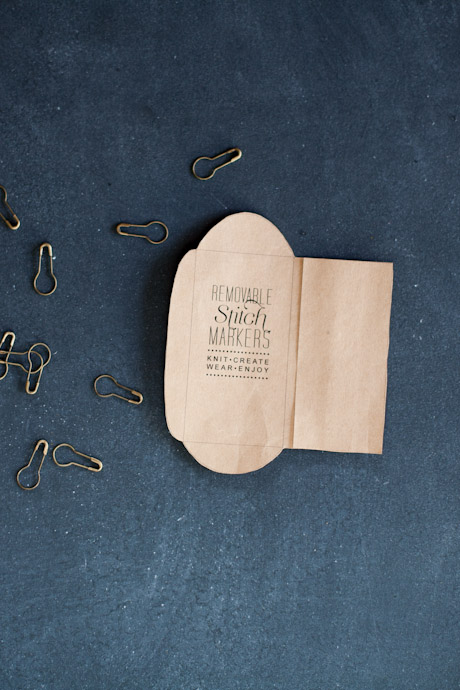
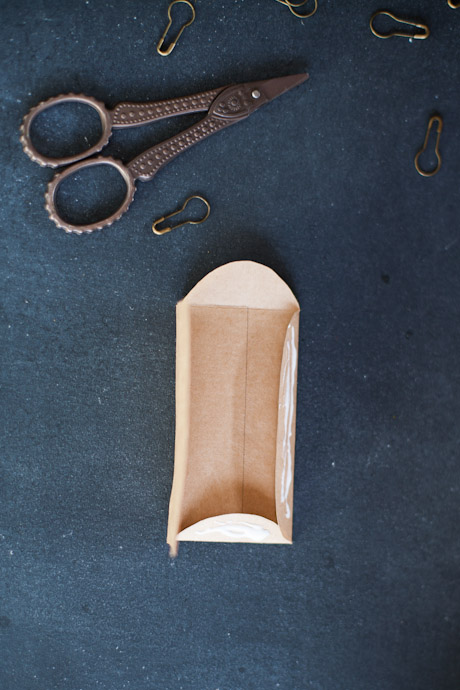 Print the template on your 8.5 by 11 sheet of brown paper. Cut out the template and fold on the lines. Then glue the bottom and smaller side tab. Then fold over the larger tab leaving the top flap open.
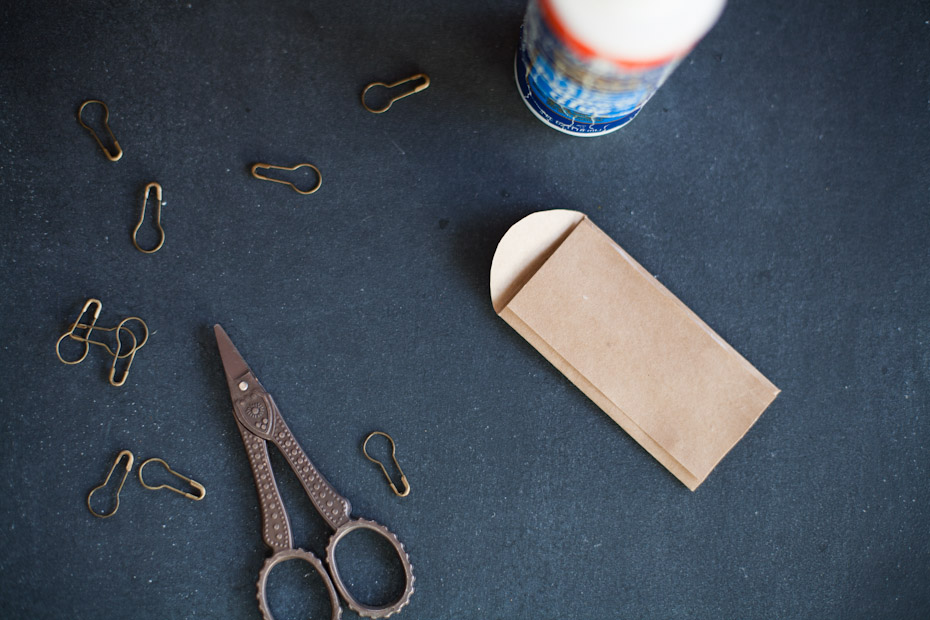
Now you can stuff your envelope with stitch markers and seal it. You can use a tiny piece of double stick tape to seal the top or you can glue it shut when you have put the stitch markers in it. Either way this is a great way to package stitch markers for a gift.
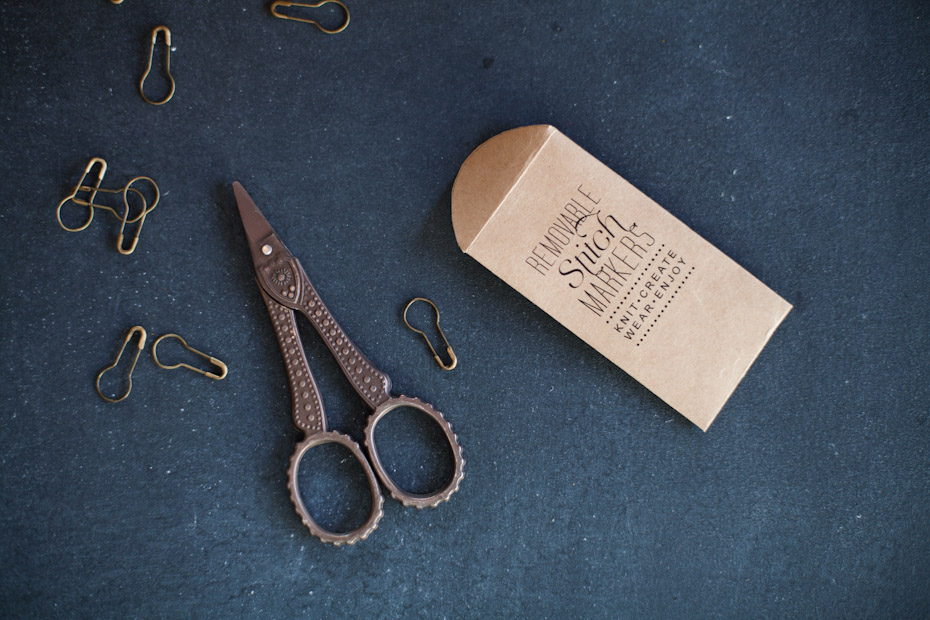
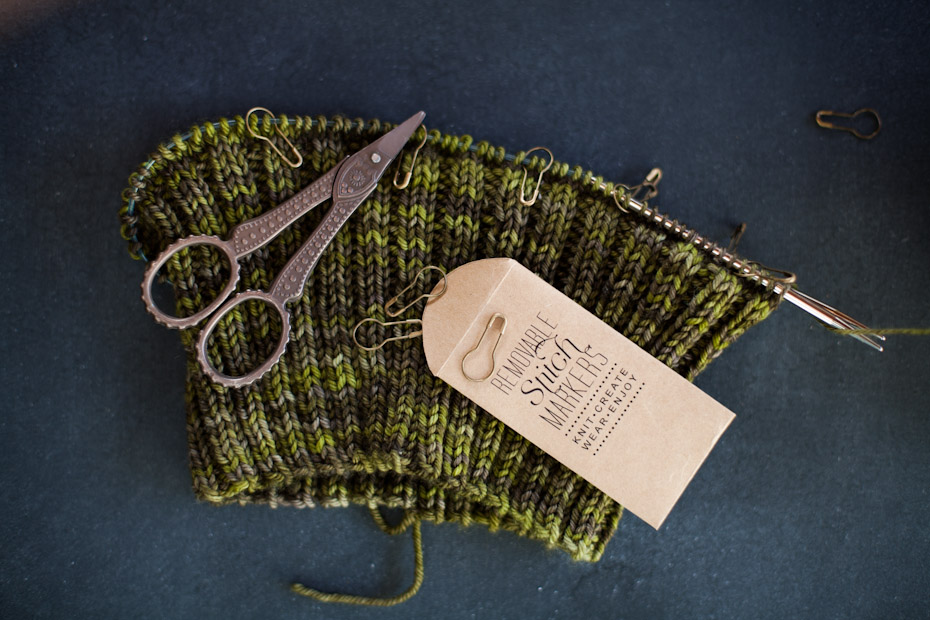
I used these cute coil-less safety pins that I purchased on ebay. You can find them HERE. They are fantastic. I don’t know if they are as practical as some of the ring stitch markers but they are removable and look nice. My knitting sits around a lot so it is important to me that it looks nice as it sits neglected on my dresser. Here is a hat pattern I am working on, I am using Malabrigo Arroyo in two colors. It is such great yarn. I will post pictures of the finished design as soon as its ready.
]]>
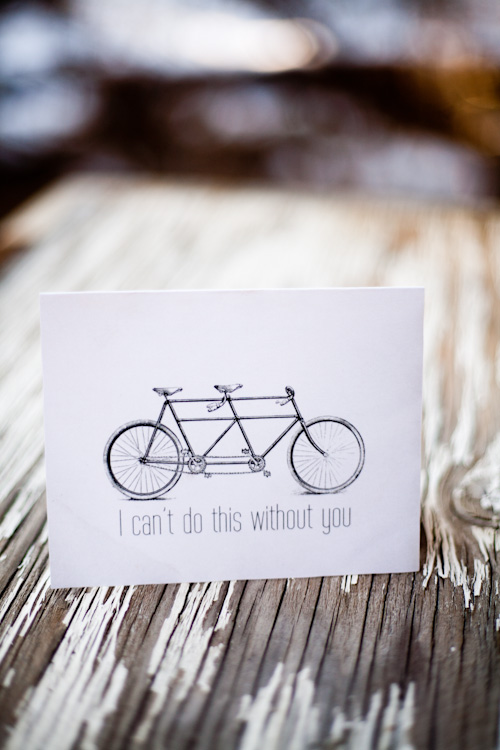
You can print this card out (simply click on the image or link above), it has the tea stain look incorporated into the image. Simply cut it out along the tea stain edge, fold it, write in it and pop it in an envelope for someone special.
Valentine’s Day is right around the corner. I have to say it isn’t my favorite holiday, mostly because it is a holiday of expectations. Met or exceeded it is about what our loved one is going to do for us. My sister told me a while ago to think of Valentine’s Day as a chance to do something special for my husband. It was the perfect mental switch I needed.
So what have I been working on for my husband? Well I have written a few love notes to my husband telling him how proud of him I am and how thankful I am to have him. I have not yet figured out what to do on Valentine’s Day but I have a few plans in the works. One will come in the form of the card above. Here is what one of the others looked like. I actually started giving him notes already…why wait.
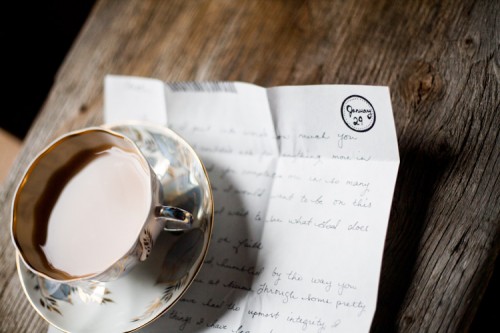
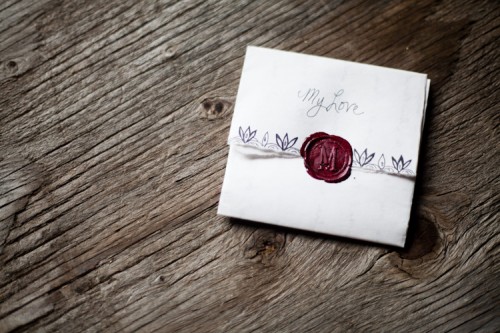
A hand written note has so much meaning, why let someone else say what you can say on your own. It is more personal, it takes more time and thought. If you set out to make your loved one feel special and unique this Valentine’s Day, I would encourage you to do so with out any expectations. It isn’t as meaningful or special if your gifts are backed by expectations. Good luck!
]]>Every year I have high hopes that I will make every gift instead of spending lots of money on impersonal store bought items. Then, every year, due to my poor planning, I end up buying everything last minute. This year will be different. I am starting now, I am going to make a list of all the things I have to make, I will share some of it here. On top of Christmas I also have several baby gifts to make so those will also be in my list.
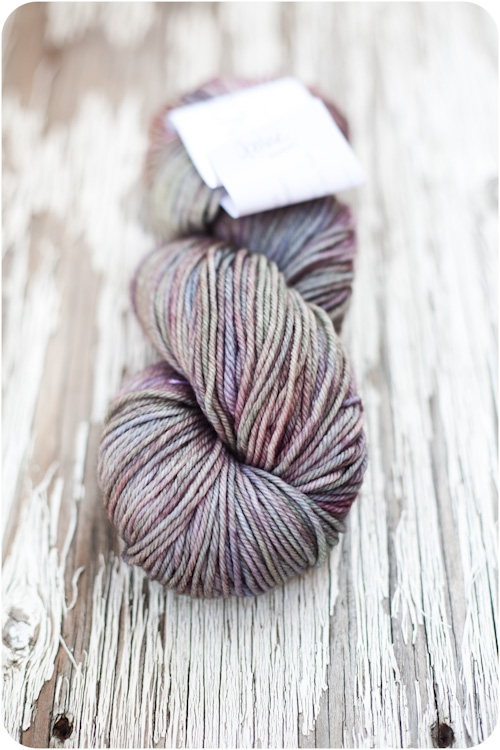 This beautiful DK weight yarn by MadelineTosh will be used to make a couple of these adorable bonnets. I have quite a few baby girls to knit items for.

This is another beautiful skein of MadelineTosh DK in colorway Mare it will be used to make some headbands as gifts. The pattern is in the works…will be shared once completed.
And another skein of MadelineTosh, I know I am an addict.
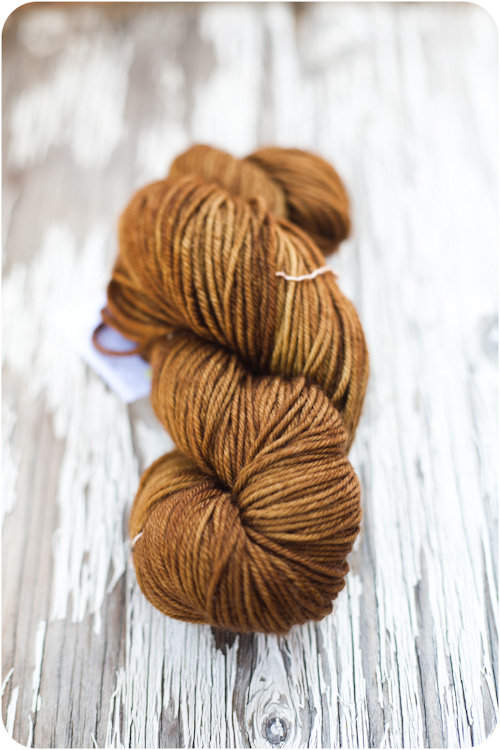 This will most likely be used to make the pattern below for a family member or friend, I cannot be more specific because I don’t know who reads my blog.
 This pattern has not yet been released but will be shortly. Get on my mailing list ahead of time and you will receive a coupon for all my patterns the day it is released.
For all my hand knit items I made this little tag. You can download the file HERE if you are interested in it. I love having tags for all my hand made and hand knit gifts. It adds something special.
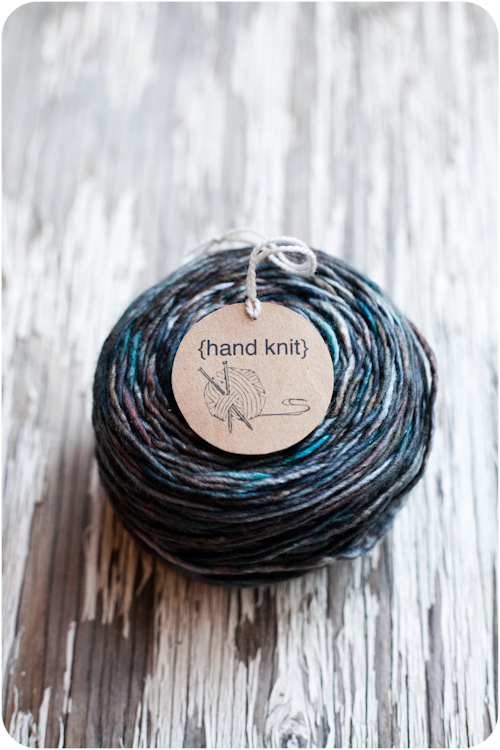
I will post more ideas to my list as they come. Also I love to make Christmas Ornaments as gifts so I will be posting some of those as well.
{Giveaway}
This giveaway ends on the 25th of October, the results will be posted on the 26th.
What you will win. This beautiful skein of Vintage Chunky by Berroco. Also the pattern Yummy Beret which knits up beautifully in this chunky weight yarn.
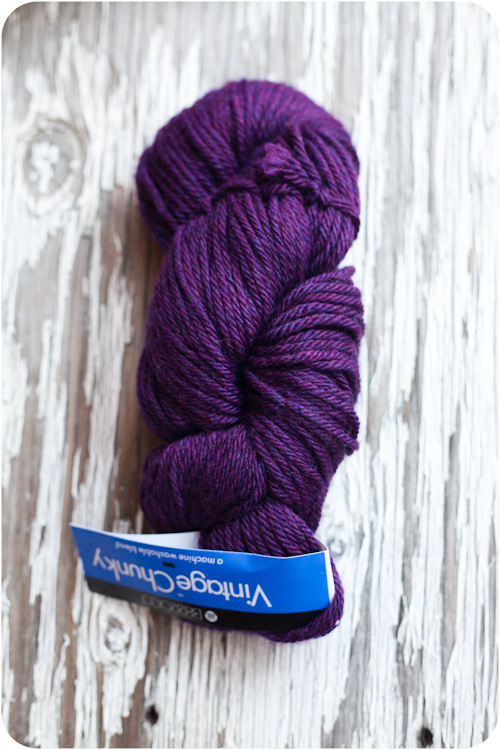

Here are the rules! I am making this as easy as possible since I new to doing giveaways.
Leave me a comment that includes the following:
- Your First Name
- Years Knitting
- Who the hat will be given to (you may give it to yourself)
If you wish to have one more entry you may also pin one of my patterns to Pinterest. Leave the link to the pin in the comment section and I will add your name a second time to the drawing.
The results will be posted on Wednesday the 26th of October. I will choose the winner on the evening of the 25th using random.org. If you have any questions please email me at [email protected] Thanks for participating!
]]>
You will be surprised at how easy it is. Simply click on the image below to download the printable PDF file.
Then simply follow the instructions on my Brown Paper Tag tutorial and you will have these hand made “hand knit” tags to mark your gifts with.

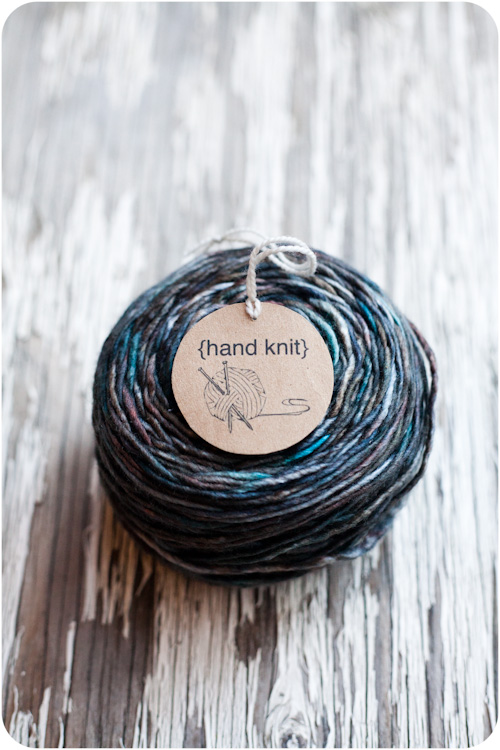
If you enjoy this tutorial and free download you can also download these tags HERE.
]]>
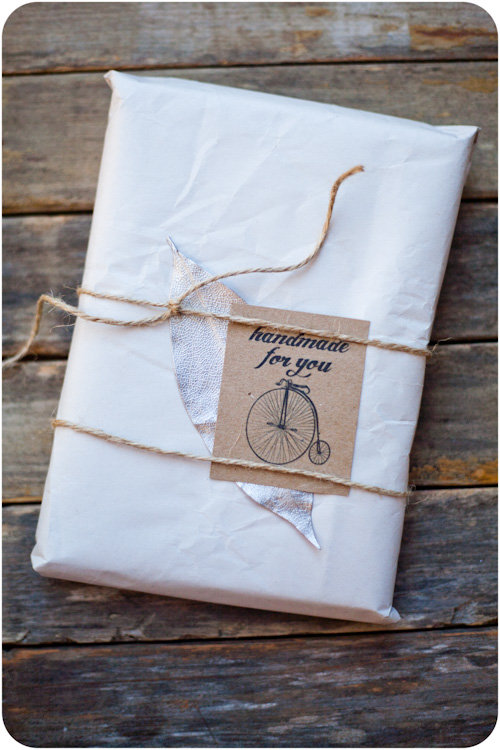
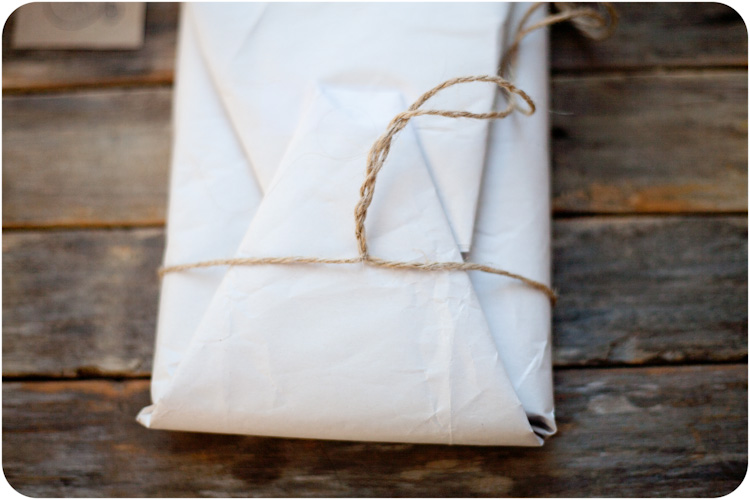
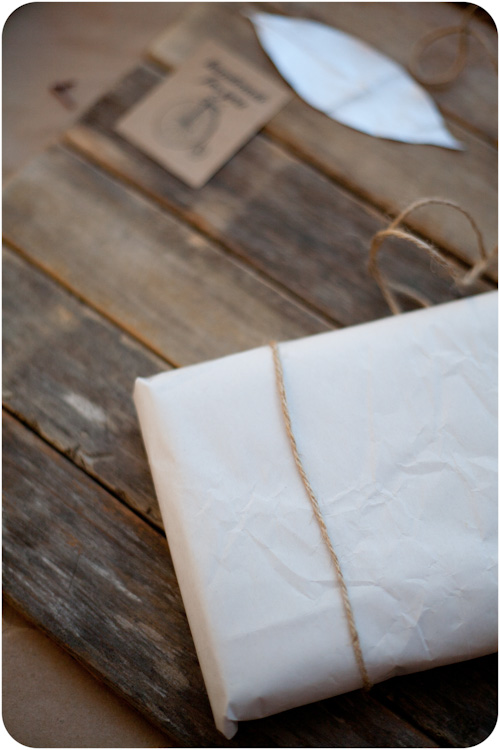
I love twine! Wrapping like this is easy I used old paper from Anthropologie that was used to wrap up some bowls I purchased. Here is a little photo tutorial on how to tie your gifts like this.
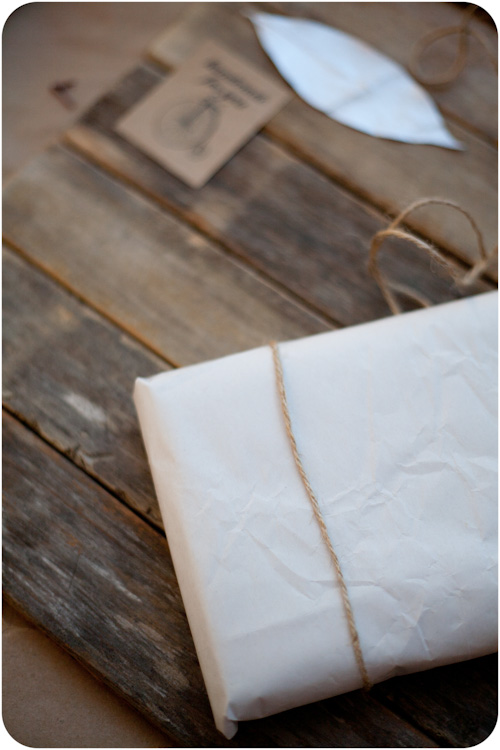
Wrap some twine around the front of your gift and then flip it over.
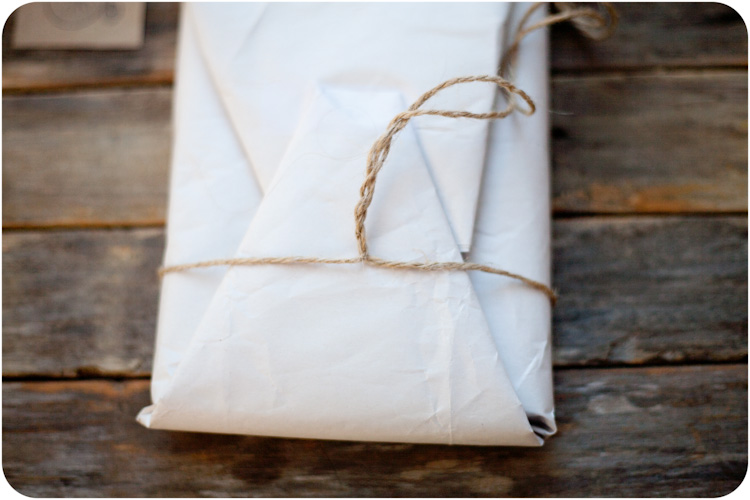
Twist the twine together until it you have around two inches of twisted fiber then split the twine and wrap it back around the front of the gift.
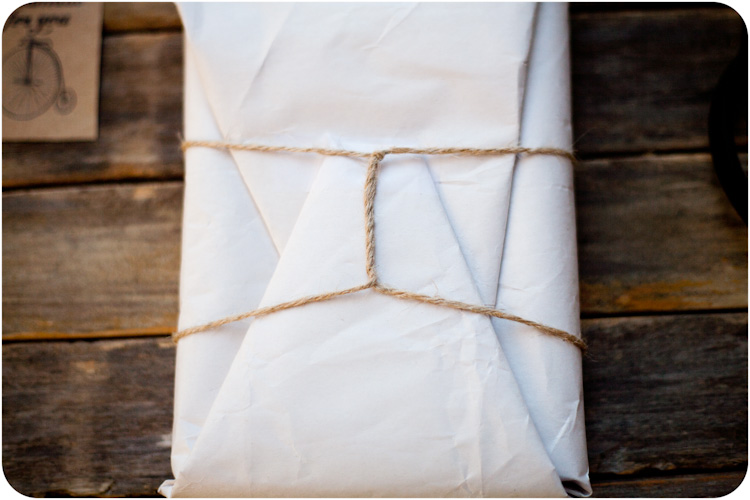
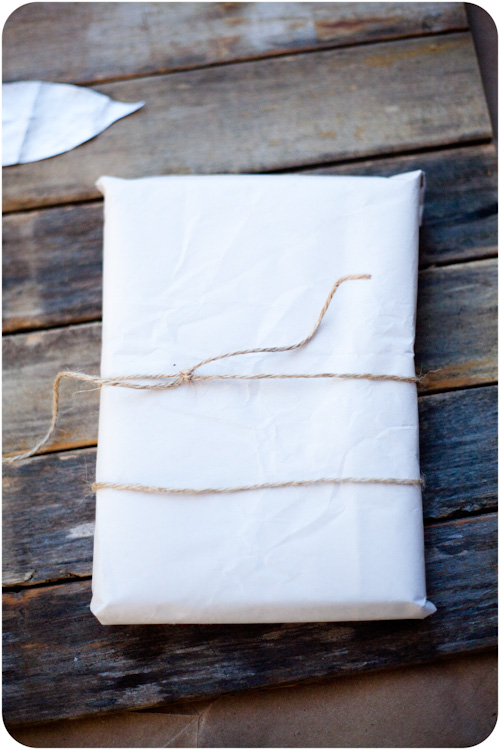
Once your gift is facing forward tie off the twine and tuck in a tag and a little something natural to add to the look. I used a dried leaf that I spray painted. Which I will be posting a tutorial for later in the week.
]]>
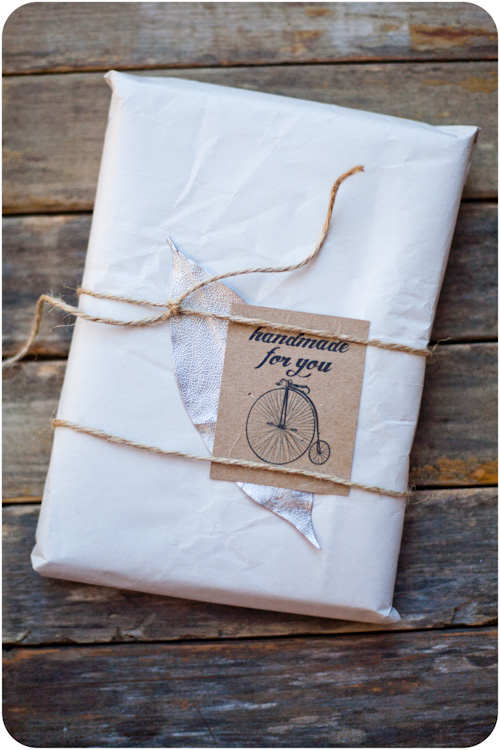

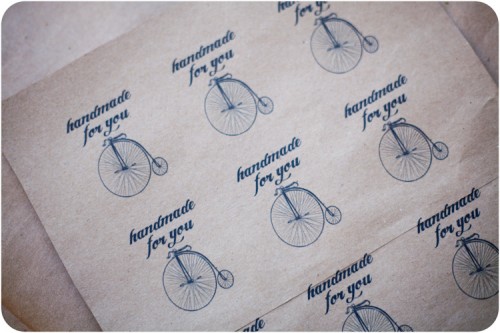
I have a small obsession currently with antique bicycles. I thought it would be fun to do a series of tags for all the handmade gifts I will be working on in this season. I will post them for download along with other gift wrap ideas as the weather gets chillier and we move towards the holidays.
If you use the tutorial I did on making labels out of brown paper bags your labels can look like this.
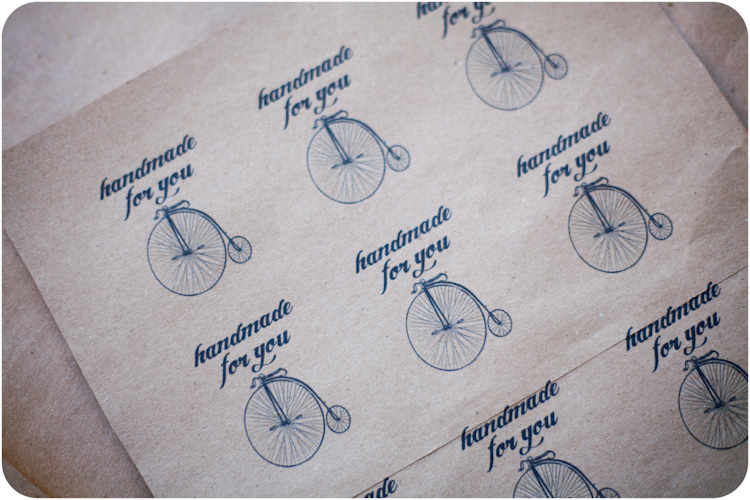
I will be doing a series of posts on inexpensive wrapping ideas for the holidays. You can see one containing these tags HERE.
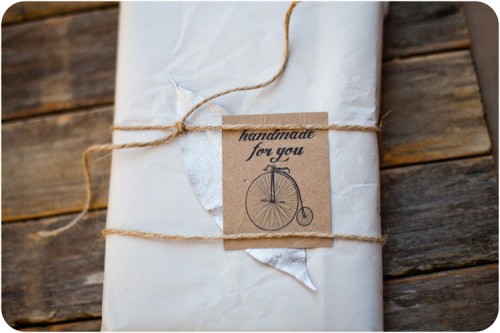
]]>
I have been wanting to find ways to re-use my brown paper grocery bags. I am always looking for good print paper and I had the idea today to make labels out of a brown paper bag. Here is how you do it.
 Tape a piece of 8.5 by 11 inch paper onto the outside of your paper bag. Carefully cut the paper bag into the shape of the printer paper.
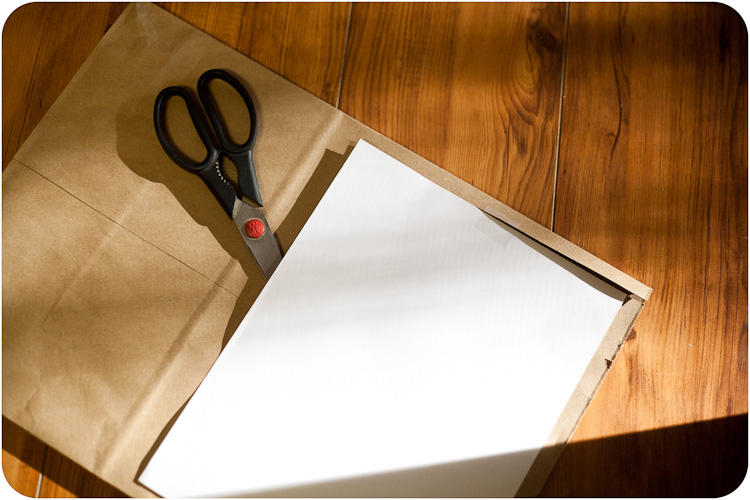 Make sure that your hand cut brown paper has the same width as your print paper. If it is wider it will jam your printer.
 Place in your printer and choose your file to print.
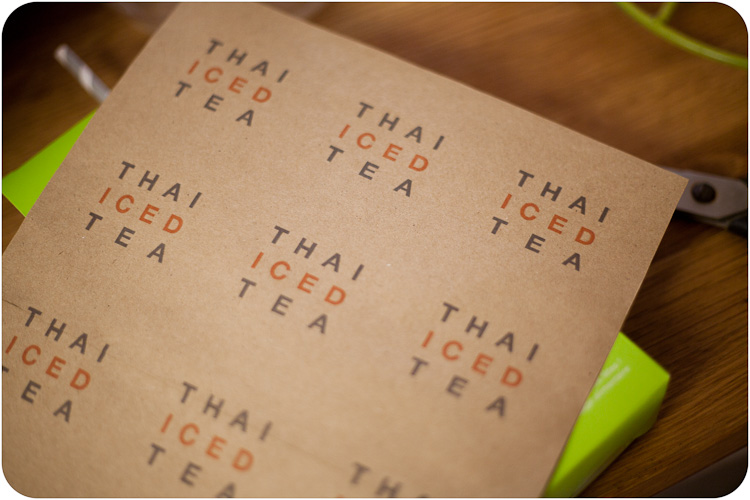 You can download this file for free, as a PDF by clicking on the link below.
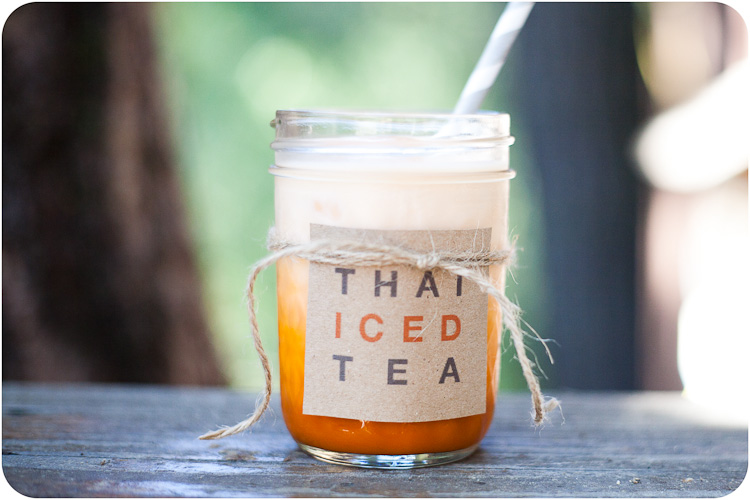
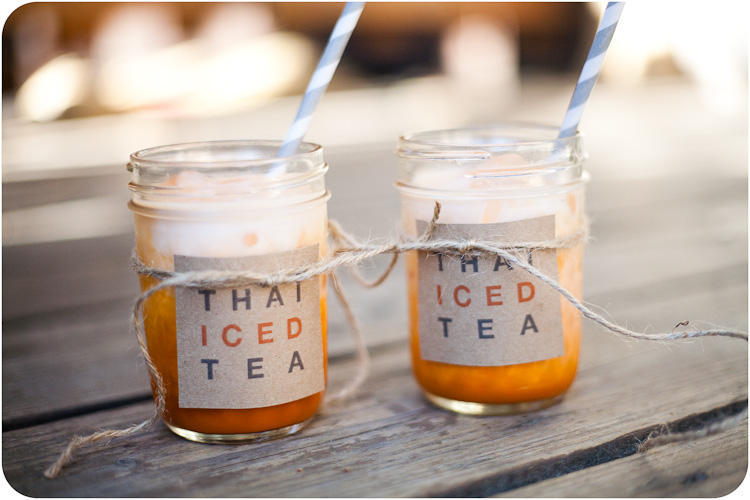
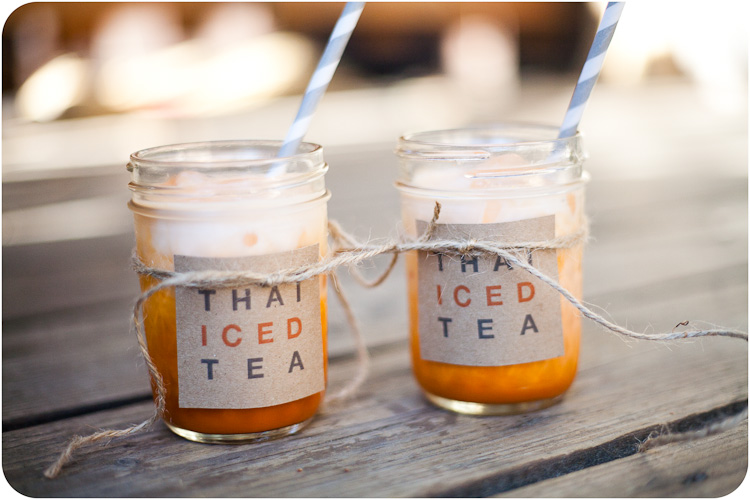
Using this label, recipe, mason jars, and twine you can make Thai Iced Tea the perfect fall party beverage.
]]>