DIY: Bohemian Chic Hair Pin
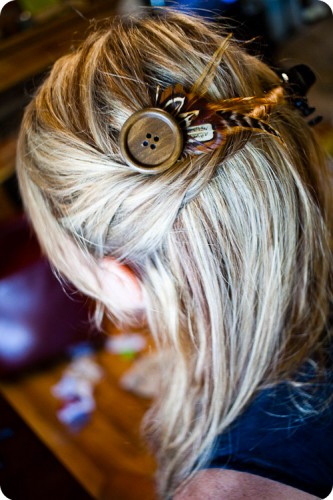
Yet another DIY! Summer is a time to create and when summer hits I definitely put down my knitting needles a bit more…THE HEAT! It is hard to knit with even the softest wool fiber when it is close to the triple digits outside. So here is a fun tutorial for those of you who are taking a breather from knitting. This clip was designed using a button off one of my old sweaters and some feathers I already had on hand (from all the feather extensions I have been putting in).
If you purchased feathers for feather extensions and you have some left this is a great project to use them up on. So lets get started!
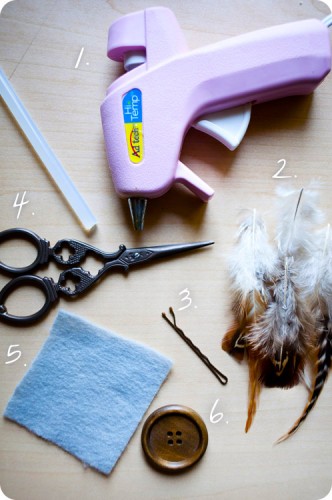
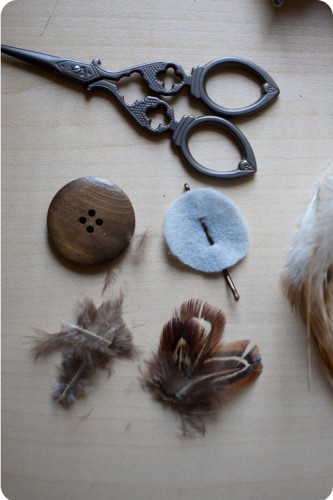
2. Feathers (You can find the feathers if you search for “Ring Tail Pheasant” and “Saddle Hackle” I like to get them from www.moonlightfeathers.com)
3.Bobby Pin (or Alligator Clip)
4. Scissors
5. 2x2in square of felt
6. Button (pictured is a 1.5inch diameter wood button)
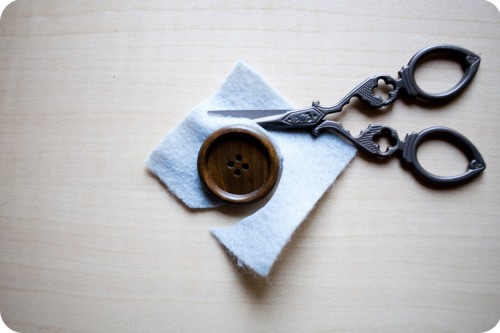
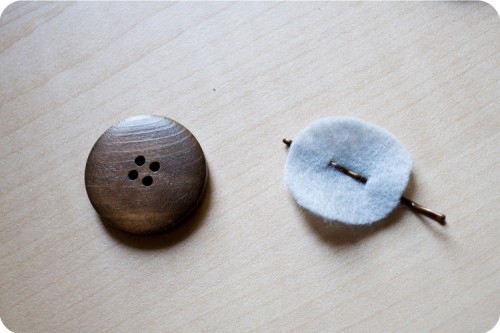
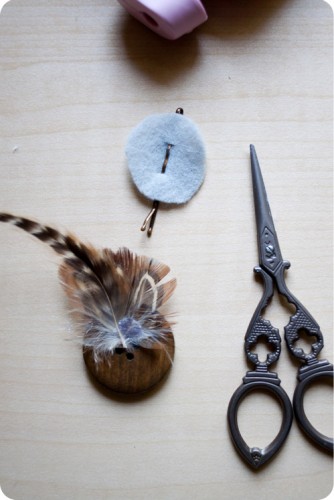
First, holding the button on top of the felt cut the felt to the same size as the button. This will be on the back of your clip.
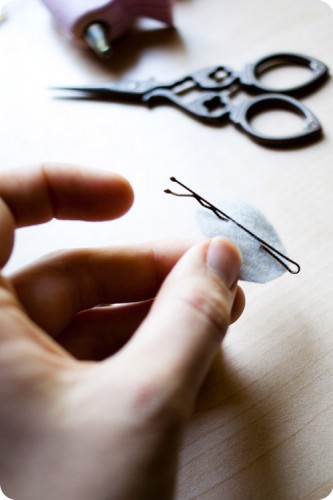
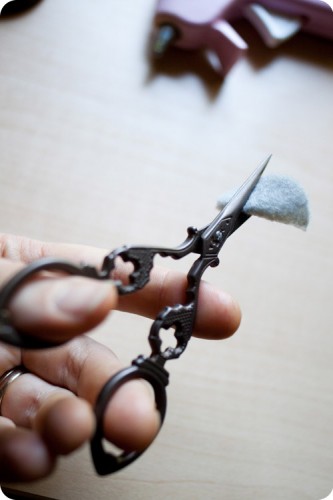 Once you have cut the felt circle fold it in half and make two small incisions for your bobby pin to attach through.
Once you have the holes cut for the bobby pin thread it through the felt.
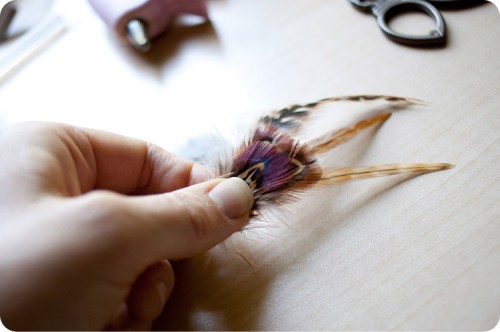
Cut your feathers to the appropriate size so they will sit the way you want them to.
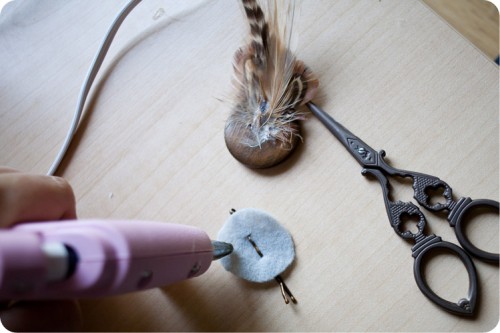
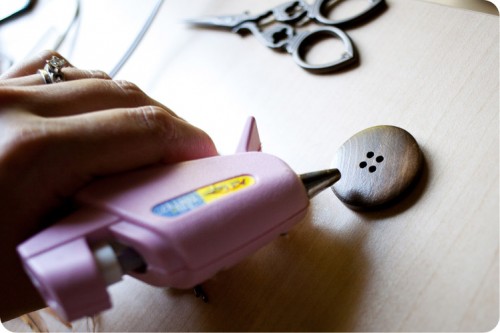 Flip your button over hot place a layer of hot glue on the back of the button and begin to lay your feathers. Make sure you keep in mind that you button is face down so you want to place the feathers you want on top first.
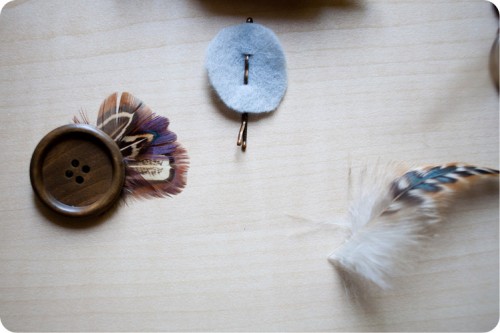 Once you have the first layer glue the second layer to the back of the button.
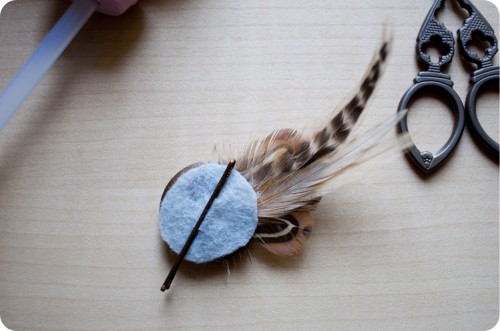
When you finish attaching your feathers glue the felt backing onto the clip.
This is the angle I used for the bobby pin so that the pin attaches the way I want it. It may differ depending on how you want the clip to lie in your hair.
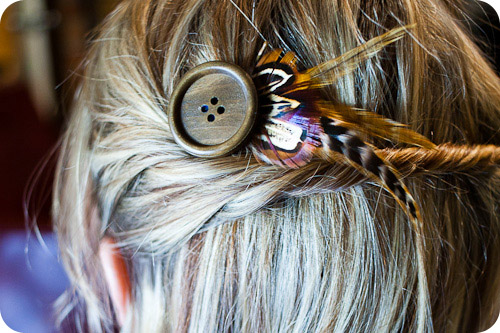
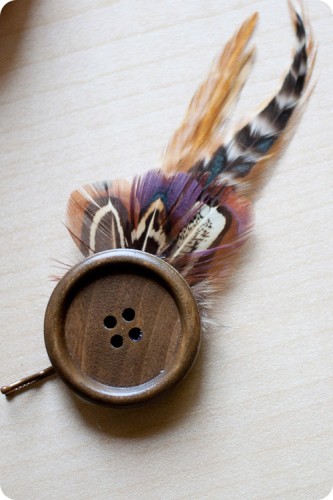 Flip your clip over and slip it in your hair. These make great gifts because they are so simple and easy and yet they are eye catching.
This clip also easily works as a pin on a shirt to add a little interest to your favorite outfit. Or it can even make a great hat pin. Create and ENJOY!

26 Comments
Maya
thanks so much, I made this and LOVE it!
<3
Maya
elisa
YAY! Love to hear that.
Bethany
I came here eager to read how to make the hair pin, but I then fell in love with your scissors. May I ask where you got them? 🙂
elisa
Japan, I am obsessed with this website.com/en I bought the scissors having no idea if they would actually come. I love them! I couldn’t find the exact store I bought from originally but here they are from another store.
https://global.rakuten.com/en/store/gingam-craft/item/4562251644083/
https://global.rakuten.com/en/store/gingam-craft/item/4562251644076/
Enjoy!
stephchows
Love this! And I now have the need to go buy a hot glue gun 🙂
Mandy @ This Girl's Life
Super cute! Love the mix of natural materials. I featured this project on my blog today!
https://mandyford.blogspot.com/2011/06/what-are-you-looking-at.html
elisa
Thanks!
Alex
So cute! I made a few this morning for my sister and I and we love them! Thanks for this great tutorial.
elisa
Awesome! I am working on a few more different hair pin ideas I will be posting tutorials for them this week or so.
Pingback:
brittany
absolutely adorable. definitely trying this. thanks for the tutorial!
-Britt
Brianna
Completely in love with the hair pins! Is your hair braided or twisted in the picture?
elisa
Thank you! I twisted the hair back and then pinned it.
Meesha
“I love changing my perspective by taking an ordinary object and looking at it from a different direction or in a new context.”
Yes, you and ches are definitely soul mates! Cute pics and I’m glad Natalie can be up there with you.
Jessica
I just made a bunch of these and LOVE them! Such a great idea! Thanks for the tutorial 🙂
Danielle
I love it, or idea very good, thank you for sharing with us…
Lisa
Love this! Looks totally do-able, thanks for sharing 🙂
karboojeh
Great tutorial. I’m in my boho-chic feather-lovin’ phase, and you can’t believe how happy I was to see a link to your tutorial on fellow tumblr blogger’s site: Scissors & Threads. I re-posted a link to this page on my tumblr page: https://karboojeh.wordpress.com/
Thanks a lot for the inspiration, please keep on making more feathered accessories 🙂
Pingback:
Karboojeh
Oops, I just realized i put the URL to my other blog, sorry! Here is where I quoted your feather pin DIY: https://karboojeh.tumblr.com/
🙂
Jen
Oh my goodness! I just found your site and I am in LOVE! Your tutorials are amazing and so easy to understand. Thanks for all of the fun ideas!
elisa
Thank you! I LOVE sharing ideas. You should take up knitting if you haven’t already 😉
Pingback:
Maggie Kmiecik
Hi Elisa,
I just wanted to let you know that I featured your tutorial on my site, http://www.AllFreeBeadedJewelry.com. I linked to this project:
https://www.allfreebeadedjewelry.com/Beaded-Hair-Accessories/Bohemian-Chic-Feather-Hair-Pin
I would like to know if I can link like this to you, including a photo, in the future. Or if you would be willing to allow me to post projects in full on the site – full credit will always be given to you, of course. Your projects have the opportunity to be featured in our newsletter as well. It would be yet another source of traffic to your blog.
Please let me know, I would love to work with you further.
Thanks!
Maggie Kmiecik
mkmiecik@primecp.com
Amanda
This is so cute! Where did you get the feathers?